Making Your Own Injection Molding Machine
Gareth's Tips, Tools, and Shop Tales - Issue #80
I would like to hear from readers if there is any preference for release dates of this newsletter. As you may have noticed, I first started putting it out on Tuesdays, then I switched to Thursdays. I have delayed the last few to Friday because I wanted to make sure I had enough good material to publish (My goal: All killer, no filler). Does the day of the week matter to you? Let me know.
Making Your Own Injection Molding Machine
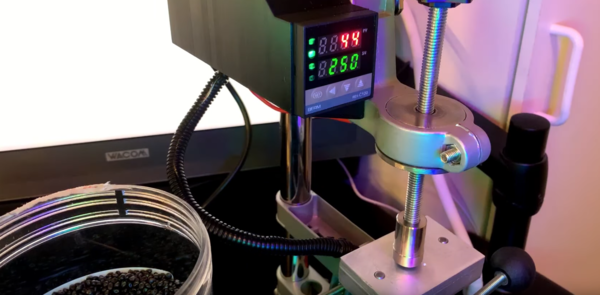
3D printing the old fashion way.
I’ve always been fascinated by injection molding. When I was little, my dad ran a factory that had huge injection molding machines and I thought they were approaching magic. The waste plastic would build up below the machines in colorful, stringy stalagmites. I can still recall the acrid smell. In this video on Buster Beagle 3D, Ryan shows how he made a tabletop injection molding machine for around $200. It requires two cheap drill presses, some custom parts that Ryan sells, and a cheap PID controller. It also involves 3D printing a few parts.
Refilling Varsity Disposable Fountain Pens
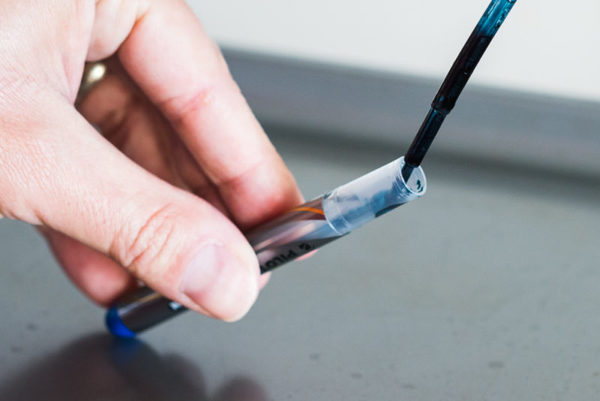
A no-longer-disposable Varsity fountain pen.
For the last 8 years or so, I’ve almost exclusively used Varsity Fountain Pens. I have a mini-freak out if I can’t find one when I need it. When I sing the praises of these pens, inevitably, someone points out that they’re wasteful because they can’t be refilled. Yeah, them and for every other pen on the planet that’s not a conventional fountain pen. But, Varsity pens actually are refillable. It takes little more than prying the nib and feed off with a set of pliers, filling the barrel with ink, and replacing the nib and feed. This article has more info and photos of the process.
Keeping Batteries Alive Longer
Recently, our TV remote stopped working. To see if I could squeeze any more juice out of them, I did what I always do. I twisted them within the battery bay. Violà. Batteries back in business. If I recall correctly, this is the second time I’ve done this on this pair of alkaline AAs. What happens is that corrosion/gunk builds up between the contacts in the remote and the batteries. You can try and revive the batteries by simply twisting them in place or removing them and rubbing the two contact ends of the batteries on your pants. You can also use a rubber eraser to clean the contacts in the battery holder, too. I’ve found that this little “hack” works best on things like remotes, which draw very little power. Speaking of which: You can also sometimes take a battery that is functionally dead in a device with a high-power draw (like a motorized toy) and put it into a device that requires lower-power (like IR remotes).
Toys! Plastic Razor Blades
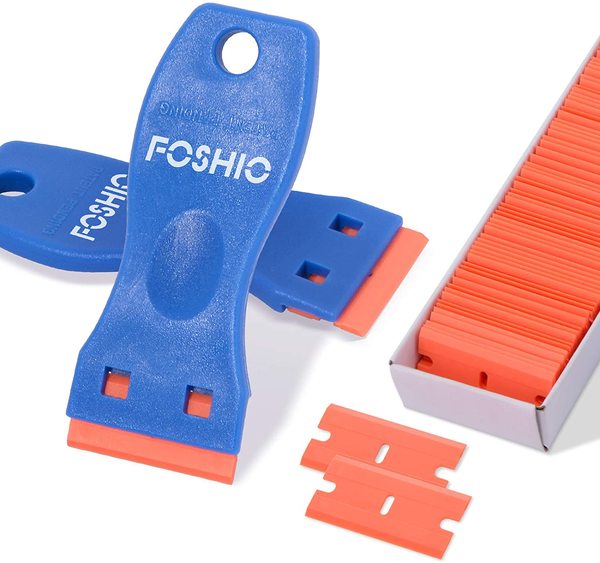
You can’t leave this cruel world using these, but they’re great for removing stickers and stuff.
A few years ago, I learned about plastic razor blades from Donald Bell’s Maker Update (and wrote about them here). I’ve been hooked ever since. I’ve bought them for friends, family members, and given them away as prizes to promote this newsletter. This video shows a few of the things that they’re useful for. I had not thought to use them as a kitchen scraper, but I will now. It’s a little misleading to say that they’re better than metal razors. They can’t cut, they just scrape. A reader also wrote in to suggest using a conventional razor blade scrapper handle. It is true that the blades sometimes come out of the cheap plastic handles the blades come with.
Maker’s Muse
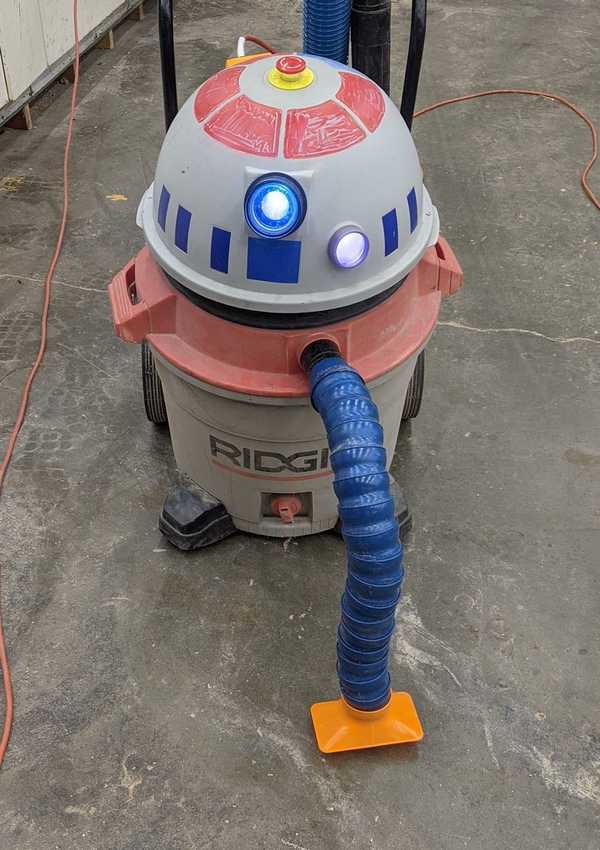
MT-M3, the newest addition to the custodial staff at Hammerspace (hammerspacehobby.com), the KC, MO makerspace.
Shop Talk
My piece on single-use CA glue tubes vs. 2 oz. glue bottles got quite a response. I had people agreeing with me that the single-use tubes are the way to go and those who shared my frustration with nozzle-type bottles. And I had people saying “Huh? What’s the big deal with glue bottles? They work just fine for me.” Here’s a letter of the latter type:
Jared K writes:
I was quite surprised to hear about your woes with super glue, as well as your assertion about its shelf life. I am not one to tell another man he’s wrong, but your experience is definitely different than mine. We use the Bob Smith 2 oz bottles of “Instacure” glue at my office, and generally a single bottle will last between 3 and 4 years. In that time, we might go through 1 or 2 extra tips (replacements here). In addition, we use these tips for precise application of the glue, and generally find those to last 4-5 months each. If they do clog, it’s almost always at the very tip, so we just cut the tip just below the clog and continue using it until the “bore” becomes too large for our use. To delay the clogging of those tiny tips, simply place the bottle upright so that the vast majority of the liquid drains out of the tip, put a small piece of tissue over the end, and pump the bottle briskly to force air (and any small volume of glue) out of the nozzle. DO NOT do this without the tissue over the tip, as it can send high-velocity superglue into places you don’t want it (eyes are especially bad). The best part is that with these thin tips installed, we never have to put the cap back on. It just sits on there until the next time we need to use it (maybe 3-4 times a week), ready to apply in a precise manner. That way we avoid the mess of putting on/taking off a cap. To be honest, I had never heard that CA glue goes bad. It simply hasn’t been our experience at all. Anyway, I just thought it might be interesting to bring up, as it’s so different. Maybe our use of the thin applicator tips is what makes the difference?
Again, I have no idea why I struggle so much with this (others too), while some folks deal with these glues just fine.
BTW: You can extend the life of your opened CA glue by storing it in an air-tight container in a cool, dry place with some desiccant packs thrown in for good measure.


